If applicable prices plus VAT plus shipping costs
Ready to ship today. Delivery time 1-3 workdays
| The perfect 2 zone sound system for the control cabinet |
What you need to know about the RP321
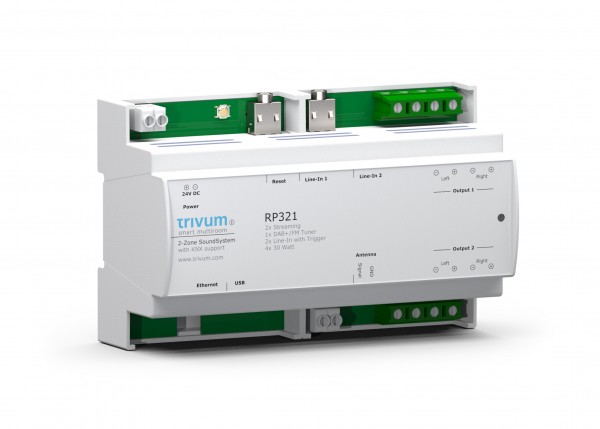
The RP321 is a complete sound system for 2 rooms: amplifiers, sources, controls - all in a width of just 13.8cm.
- Extremely flexible thanks to trivum t3OS operating system.
- 2 x Amplifier with each 2x30 watt
- 2 x Streaming client
- 1 x DAB+/FM tuner
- 2 x analog line input
- Music streaming from TuneIn, AirPlay, Spotify, Deezer, Tidal, Qobuz, SoundMachine, NAS and Web URLs
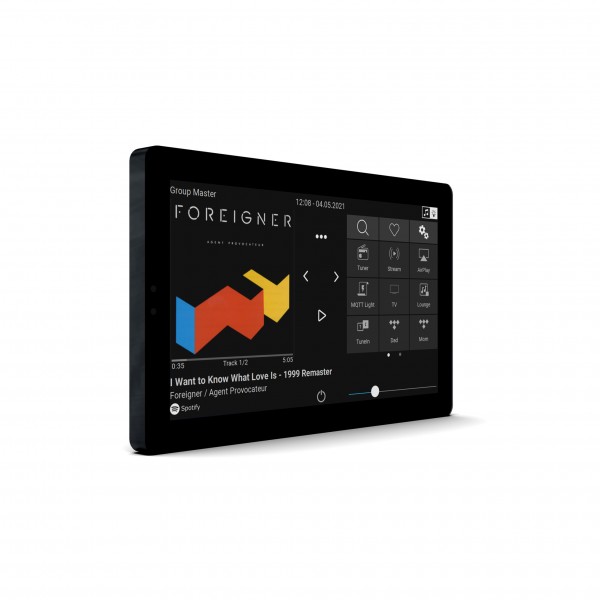
- Free app for iOS and Android - or control it using any browser or trivum TouchPad
- Perfectly integrated into KNX
- Drivers for RTI, Control4 and URC available free of charge
- The RP321 can be used alone for 2 zone. It can be combined with other trivum SoundSystems for up to 64 zones
Properties of the RP321
Streaming Clients
Thanks to the two streaming clients, the RP321 can access an unbelievable variety of music sources: Spotify Connect, AirPlay, Qobuz, Tidal, Deezer and TuneIn with its more than 60,000 internet radio stations. Of course, you can also play your own music library from a NAS drive. With the optionally available trivum InStreamer, a CD player or turntable can also be streamed into the local network (LAN) and then played back with the RP321 Streaming.
DAB+/FM Tuner
In addition to the two streaming clients, a single DAB+/FM tuner is builtin and shared by the two zones. Especially for the morning wake-up call, we wanted to rely on a built-in tuner: regardless of the availability of the Internet, radio reception via DAB+/FM is always guaranteed. This gives you the certainty that music really comes out of the speakers in the morning.
Line Inputs
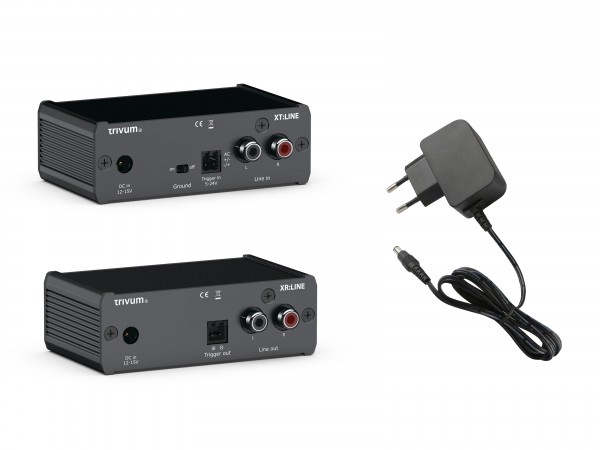
In addition to the streaming clients and the tuner, the RP321 also provides two line inputs as jack sockets. With this, e.g. the TV sound can be listened via the Multiroom SoundSystem. Audio extender solutions, such as the trivum XT:LINE and trivum XR:LINE, are ideal for bringing the sound from the television into the control cabinet. When planning the cabling, a separate CAT 6/7 cable should be provided from the TV to the control cabinet, so that the TV sound can be heard in other rooms or in the garden via the trivum Multiroom SoundSystem.
In addition to connecting the TV set to the RP321, it is also possible to use a Bluetooth receiver, e.g. in the dining / living area. This means that every mobile device can easily play music via Bluetooth using the trivum Multiroom SoundSystem. A Bluetooth receiver and the connection to the line input of the RP321 are required for this. As with TV sound, it is advisable to use audio extenders such as the trivum XT: LINE and trivum XR:LINE.
Operation / controls
Thanks to the intuitive app, the system is very easy to use - on smartphones as well as in the web browser or on the trivum TouchPads. The trivum t3OS operating system makes the trivum sound systems simple and at the same time very flexible. It contains many additional functions that make the RP321 a powerful one Headquarters in every house.&Nbsp;
Check out the operation right now in our Demo Area an.
Sound and amplifier performance
The built-in digital stereo power amplifiers provides more than enough power for built-in speakers with 2x30 watts sinus. The wattage specified for the speakers must be well above 30 watts. Because the watt value for the loudspeakers indicates the maximum load on the loudspeaker. If a loudspeaker is specified with 120 watts, this means that it can be operated with a maximum of 120 watts. Normal room volume is below 1 watt. Thus, 30 watts of amplifier power for multiroom built-in speakers is more than enough power.
Built-in speakers are often not perfectly matched. This is due to the type of installation or placement. That is why every trivum amplifier has a built-in DSP (Digital Sound Processor). Thanks to the DSP, the frequency response can be meticulously adjusted. There are no less than 5 parametric equalizers, high and low pass, bass enhancement and of course bass, treble and balance per amplifier available. This even enables the equalization of invisible surface loudspeakers.
KNX integration
Like all trivum Multiroom SoundSystems, the RP321 is also completely integrated in KNX. Simple KNX buttons can thus control the music in the room. All you need is 4 buttons! If a KNX visualization is available or planned, it can take over the music control. It's very easy, is great to use and brings real added value to the visualizations such as the GIRA QuadClient, Homeserver or GIRA G1/X1.
In addition to the possibility of controlling the music functions through KNX, every trivum multiroom system also offers its own KNX visualization. With it you can control light (RGB, RGBW, Tunable White), heating, shutters etc. in addition to music in the trivum app. Simple timers, presets and scenes are also part of the trivum visualization. Take a look at the KNX visualization in our Demo Area .
Control4, RTI and URC integration
The RP321 can be integrated into the media control of RTI, URC and Control4 systems. The drivers, which are available free of charge, enable the integrator to integrate them into the very individual media control. This means that the trivum Multiroom System can be controlled and further automated with the remote controls available from RTI or Control4.
Further functions of the trivum Multiroom System
Paging/Text2Speech:The built-in paging function enables various announcements: Either by microphone (connected to the line input) or by the Text2Speech function: Any text you enter is written into speech converted and then played as an announcement. Announcements are started by KNX or by actions, can be played in selected or all zones with predefined volumes. If necessary, also with a gong in front of it. The paging can also be used as a doorbell - or at the push of a button "Children please come up. The meal is ready".&Nbsp;
Background Music: With "Background Music" you can easily listen to the same music - without grouping zones. This is ideal for commercial installations with many different areas. Background music is provided by a special zone, and all other zones can use the music in that zone as a source. (At least one other trivum SoundSystem is required for this)
Macros:Every trivum multiroom system has the option of defining macros and starting them via action or KNX event. A macro is a sequence of macro steps. A step can be a TCP, UDP, HTTP, MQTT, KNX, Delay or, in turn, a trivum action command.&Nbsp;
NodeRed/ MQTT: To support IoT applications, every trivum multiroom system includes a simple NodeRed and MQTT interface. So you can use the trivum Multiroom System with the whole world of IoT technology.
trivum API: Many functions of the trivum multiroom system can be accessed via the trivum Developer API. This means that you have full access to the system with simple HTTP requests. You will receive complete zone status information instantly in the event of a change in XML format. This allows you to integrate the trivum Multiroom System into your own visualization or media control.
Test it now with the live demo
Do you want to see now whether everything is as described? Then try it out right now with our demo systems that we have at trivum in Stuttgart. It is a SC344v2 SoundSystem on which the t3OS V9 runs.&Nbsp; It is the same operating system as on a RP321. Or visit our Demo Area!
Technical data
- 4x30 watts into 4 ohms
- Impedance of the connected loudspeakers at least 4 ohms
- 2 analog line inputs using 3.5mm sockets
- Power consumption when idle (without active zone): 5 watts
- Space requirement in the control cabinet: 8 TE (modules)
- maximum connected load: 24V / 4A
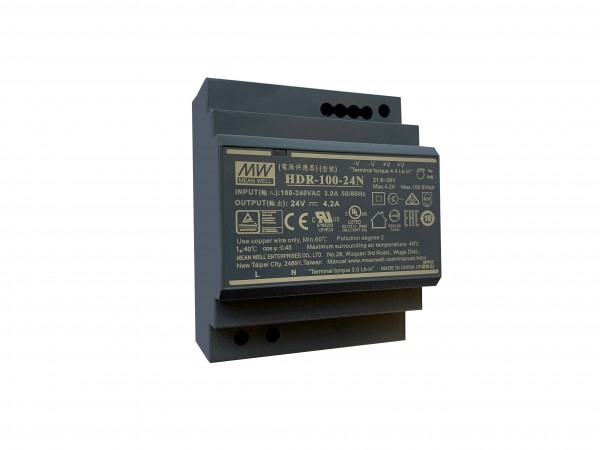
- Recommended power supply: 1x 100W power supply (e.g.PS24 / 100)
Example:
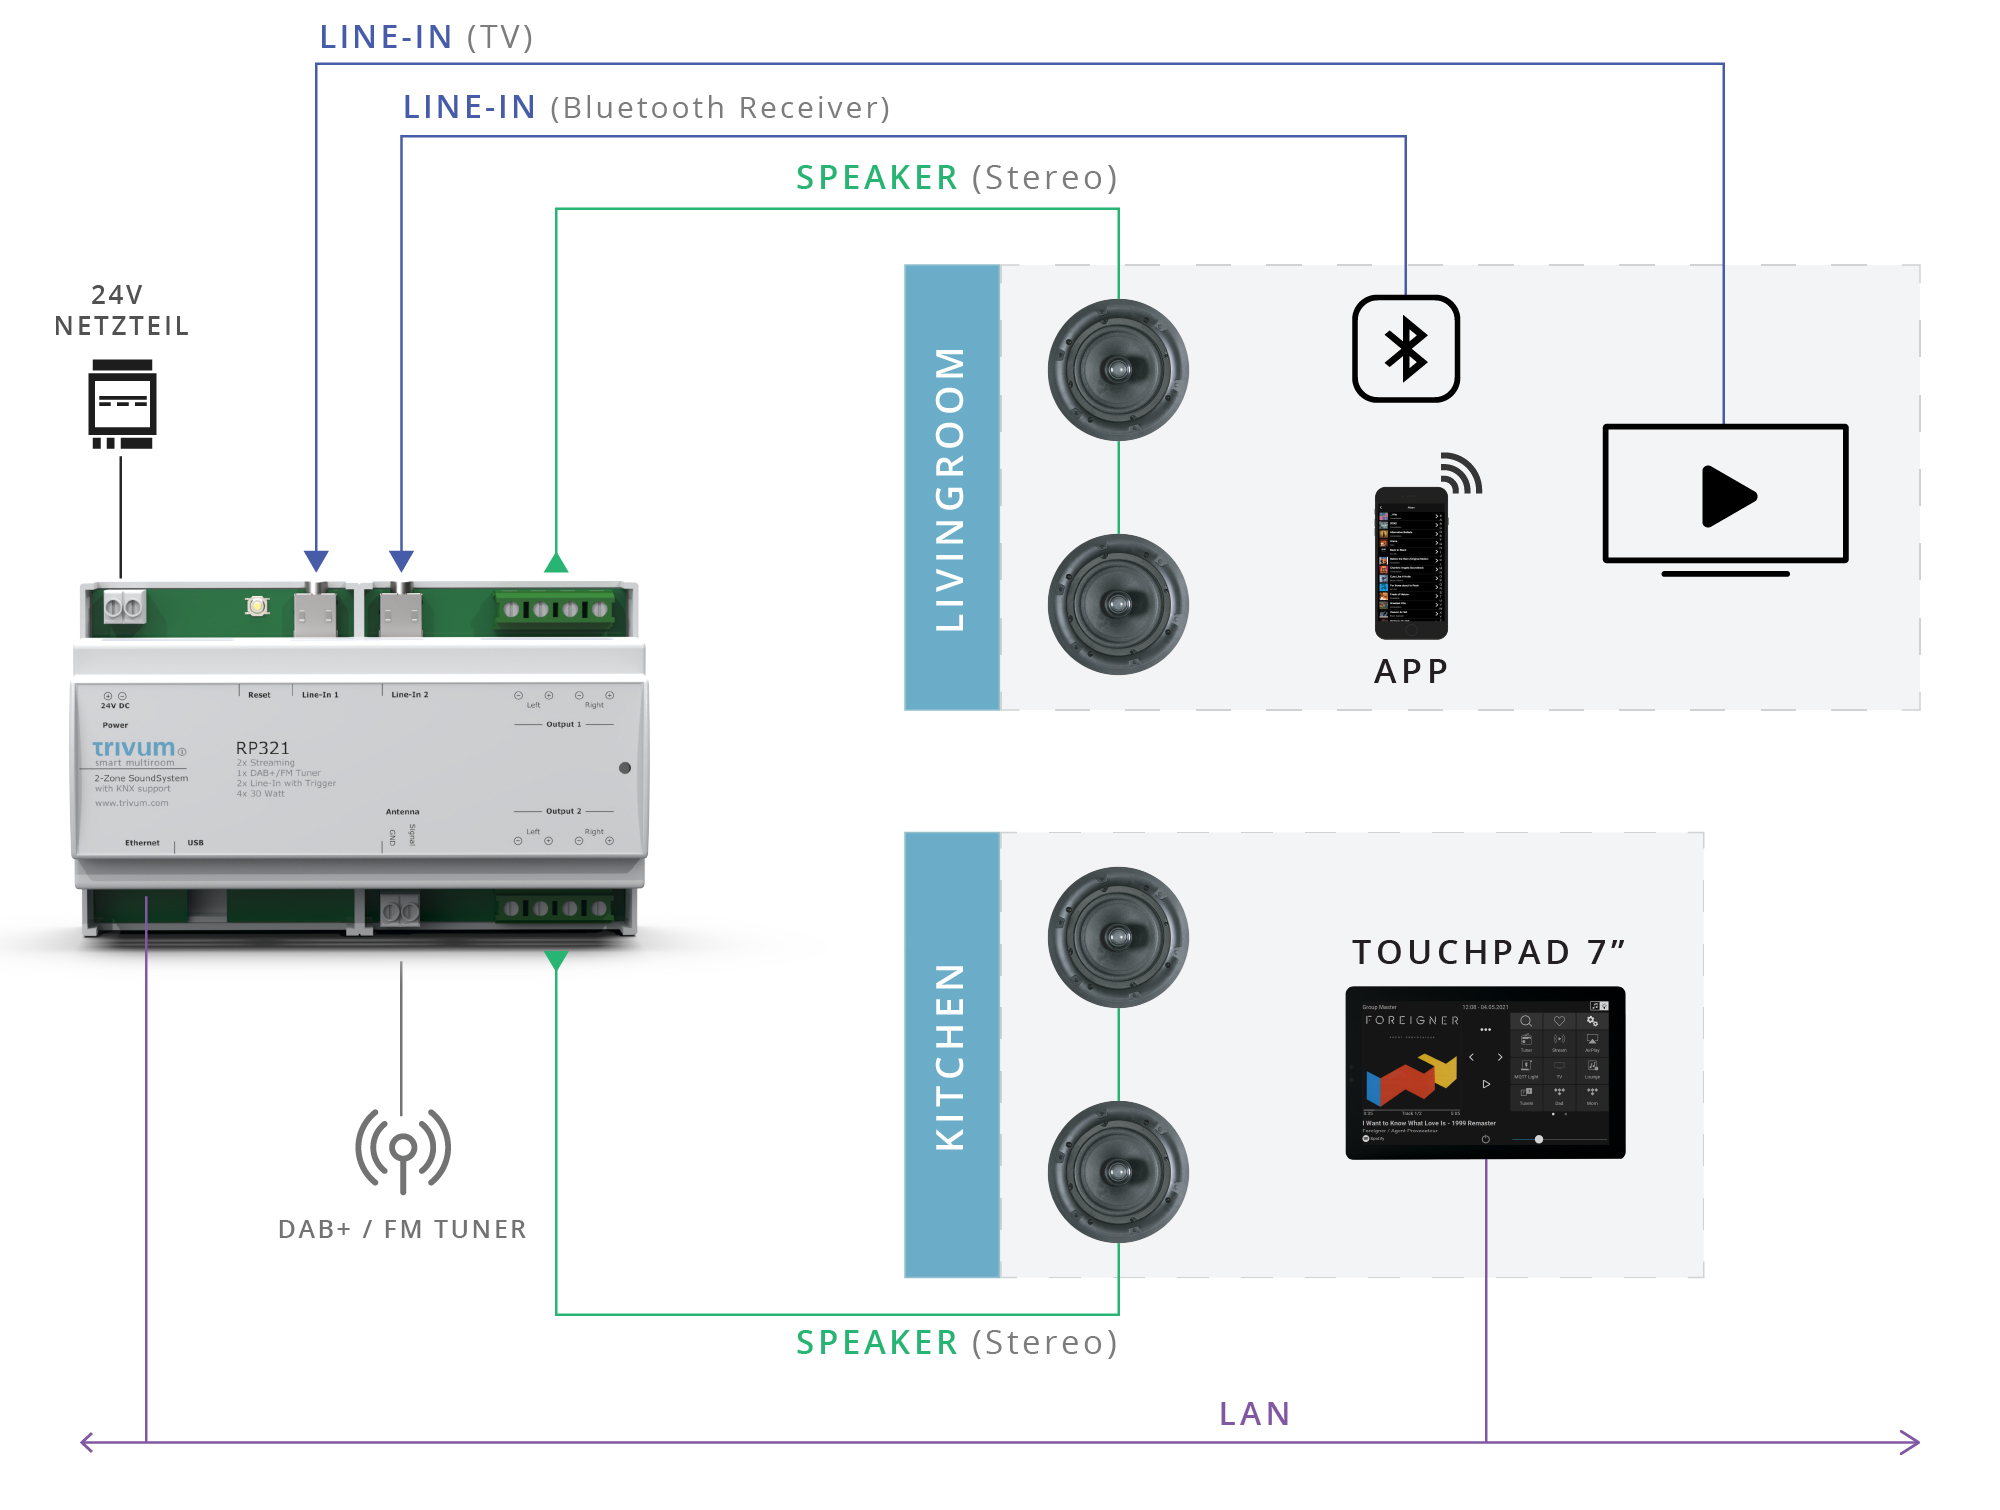
The example shows what a trivum multiroom audio solution can look like. The RP321, connected to the local network (LAN) via the Cat-5 Ethernet cable, is used in the living room and kitchen. If you want to use another audio source, you can connect it to the line-in input of the RP321 (additional devices / adapters may be required for this). In this way, in this example, the music of the record player can be reproduced in one or all zones. The trivum Multiroom System is controlled via the trivum TouchPads and the free trivum app.
Control trivum SoundSystems using KNX
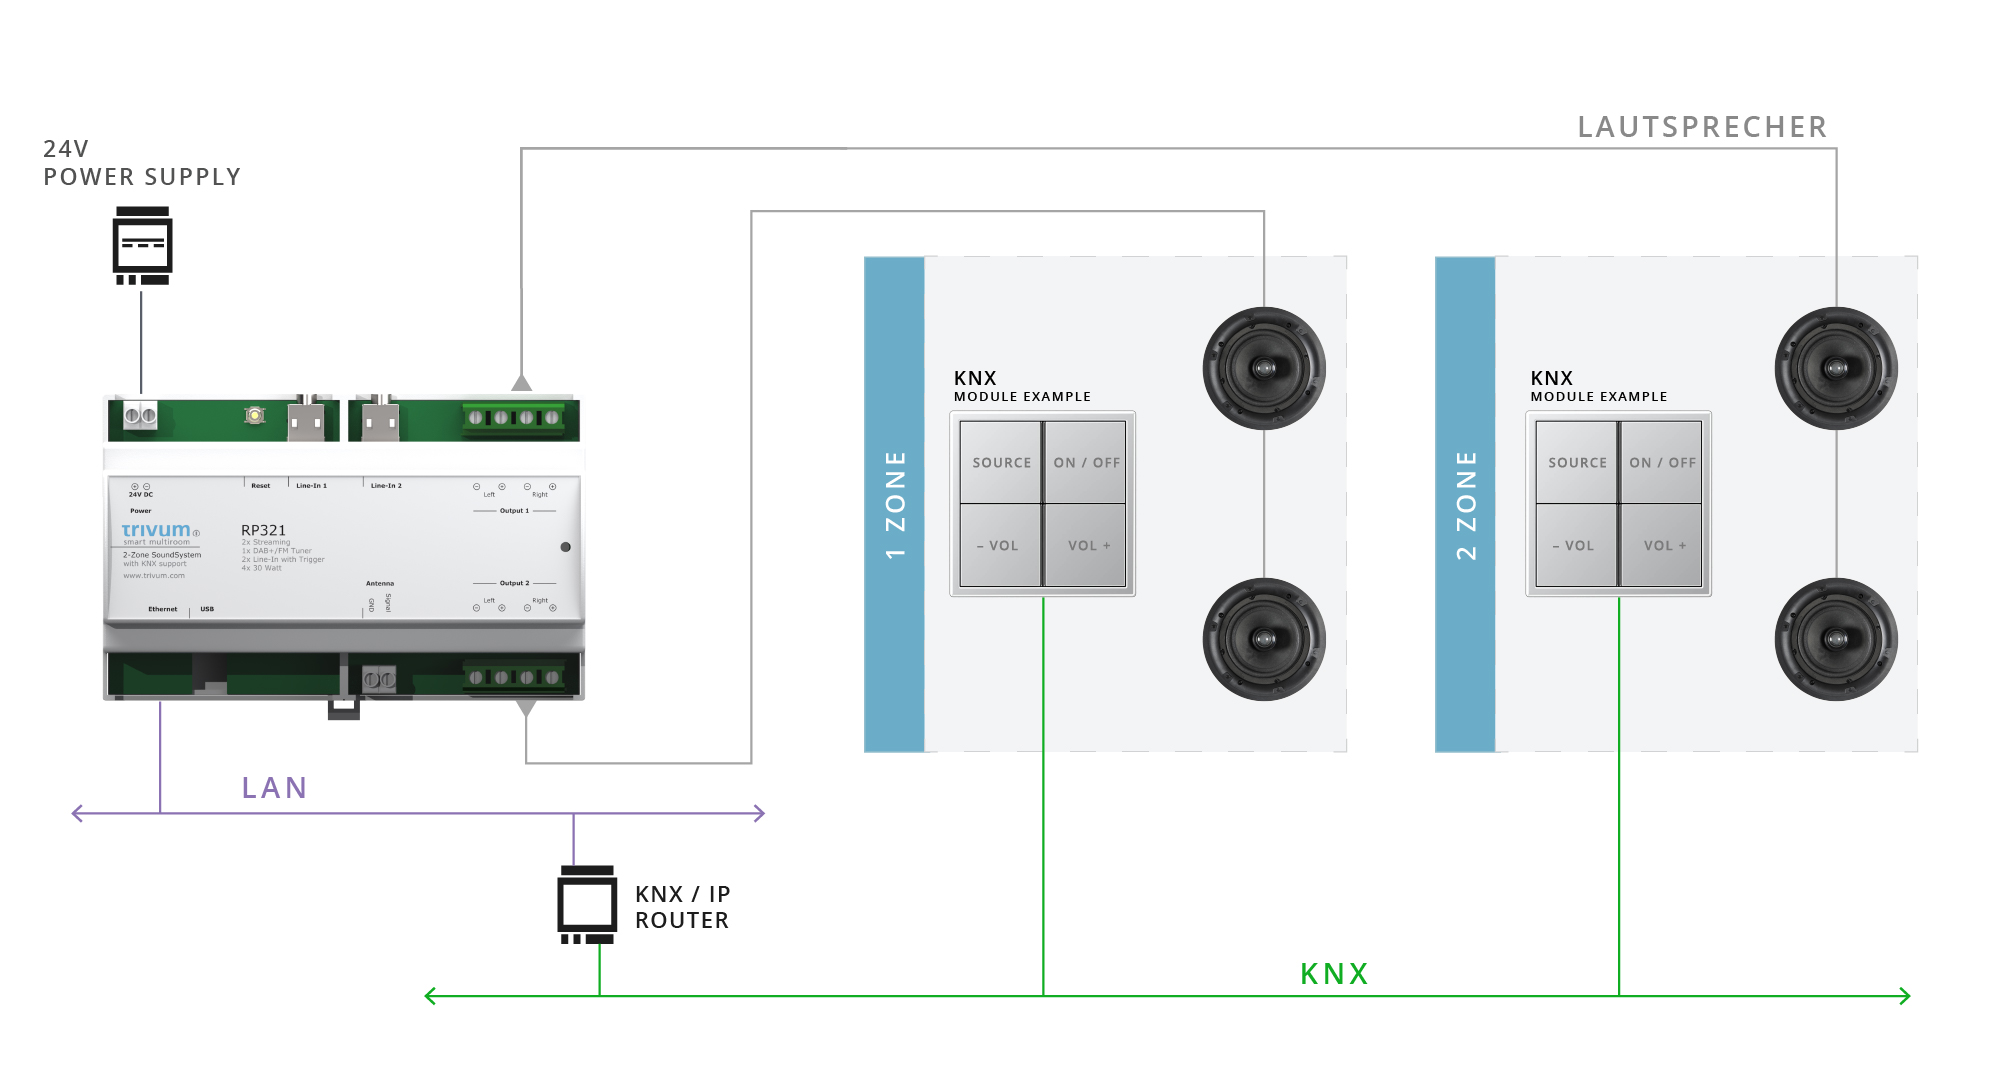
The trivum SoundSystems can be fully integrated into a KNX system via a KNX/IP router or KNX/IP interface.
For example, you can control your trivum multiroom system with KNX buttons from JUNG, GIRA etc. And that without great effort or even expensive KNX software, because: all trivum SoundSystems can be configured and parameterized via the built-in web server.
All you need is a browser-enabled device and a working KNX system.
Change the volume with a KNX rotary switch, select the sources step by step or directly with a KNX button, or have status information such as title and artist shown on a KNX display. Using the trivum KNX events, you can link individual KNX group addresses with trivum actions that are to be carried out within a zone.
You can try all of this right away! Look under "Live Demo" at the top of the menu.

trivum RP321
• Release date: January 2022
• Article No.: 301023
• EAN No.: 4260393850750
• Customs Tariff No.: 85 198 100
• Product URL: https://eu.trivum.com/rp321
Amplifier
• 4x30 watts sinus at 8 ohms
• Class D amplifier (digital)
• Impedance of the connected loudspeakers at least 4 ohms
Sources
• 2x streaming (each zone has its own streamer)
• 2x analogue inputs
• 1x DAB+/FM tuner (The 2 zones share this tuner)
Power supply
• DC 24V >= 6A
• Power consumption at idle (without active zone): 5 watts
Housing
• DIN Rail mounted device with 8 HP
• Dimensions: 143 mm x 92 mm x 63 mm (WxHxD)
• With packaging: 149 mm x 95 mm x 70 mm (WxHxD)
• Weight: 0.24 kg
Connections
• 1x network (RJ45 socket)
• 1x USB (for service)
• 2x stereo speakers (2x 4-pin screw terminals)
• 2x line input stereo (2x 3.5mm jack)
• 1x DAB+/FM antenna (1x 2-pin screw terminal)
• 1x Power 24V +/- (1x 2-pin screw terminal)
Front
• Status LED
Network
• LAN (RJ45 Ethernet)
Scope of delivery
• 1x trivum RP321v2
• 1x Quick Installation Guide


